
What is parallels desktop for mac?
Parallels Desktop for Mac is software providing hardware virtualization for Macintosh computers with Intel processors, and since version 16.5 also for Apple silicon-based Macintosh computers. It is developed by Parallels, since 2018 a subsidiary of Corel.
One can use Parallels to install other operating systems on their Mac. For instance, if you want to virtually run a copy of Windows 11 or Ubuntu Linux on your Mac, Parallels Desktop for Mac is a go-to option.
Therefore, when we consider the core purpose of the tool, Parallels Desktop for Mac is similar to VirtualBox or VMWare Fusion for Mac. However, this app has the edge over the others, and better integration with Microsoft Windows is one of those core points.
Thus, it is unsurprising that Parallels Desktop for Mac is the easiest and most convenient way to run Windows 11 on a Mac. You also get additional features like Coherence mode, but more on that later.
Parallels desktop features?
Parallels Desktop for Mac is able to virtualize a full set of standard PC hardware, including:
- A virtualized CPU of the same type as the host’s physical processor,
- ACPI compliance system,
- A generic motherboard compatible with the Intel i965 chipset,
- Up to 64 GB of RAM for guest virtual machines,
- Up to 2 GB of video RAM (VRAM),
- VGA and SVGA video adapter with VESA 3.0 support and OpenGL and DirectX 10.1 acceleration,
- A 1.44 MB floppy drive, which can be mapped to a physical drive or to an image file,
- Up to four IDE devices. This includes virtual hard drives ranging in size from 20 MB to 2 TB each and CD/DVD-ROM drives. Virtual CD/DVD-ROM drives can be mapped to either physical drives or ISO image files.
- DVD/CD-ROM “pass-through” access,
- Up to four serial ports that can be mapped to a pipe or to an output file,
- Up to three bi-directional parallel ports, each of which can be mapped to a real port, to a real printer, or to an output file,
- An Ethernet virtual network card compatible with Realtek RTL8029(AS), capable of up to 16 network interface connections,
- Up to eight USB 2.0 devices and two USB 1.1 devices,
- An AC’97-compatible sound card.
- A 104-key Windows enhanced keyboard and a PS/2 wheel mouse.
The Best Features of Parallels Desktop for Mac including:
1. One-Click Install and Easy Setup.
Configuring and setting up your first VM using Parallels Desktop for Mac is easier than ever. Once you have provided the permissions, the app will show you single-click installation options for popular operating systems like Windows, macOS, and multiple Linux distros.
2.Access to a wider range of software and games that are not available on the Mac platform.
3.Greater flexibility in how you use your computer – for example, you can use Windows while still being able to take advantage of all the features of macOS.
4.Better performance than using a virtual machine software such as VMware Fusion or Oracle VirtualBox.
5.Ability to use your Mac’s built-in camera, microphone, and speakers in Windows applications.
6.Easier setup and installation than using a virtual machine.
7.Coherence and Full Screen Modes.
8.Unparalleled Compatibility With Apps.
9.Full Support for Windows 11 ARM.
How To Install Windows on Mac With Parallels?
Follow these steps to get start Parallels.
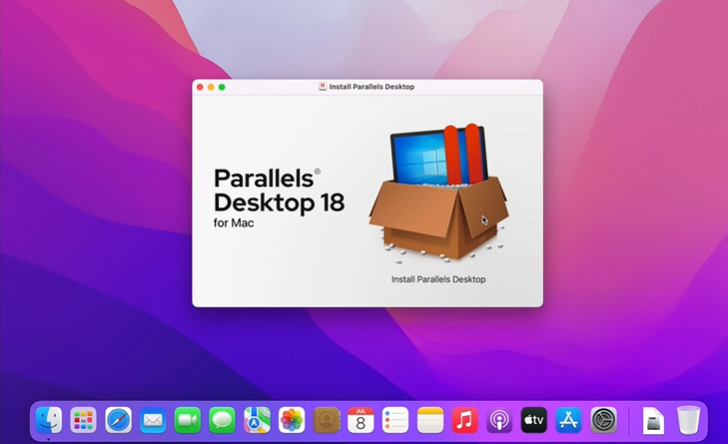
Step 1: Download and Install Parallels on Your Mac
Click here to download directly. Find the latest version of Parallels on website.
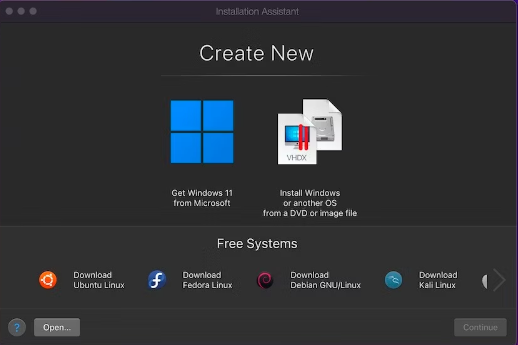
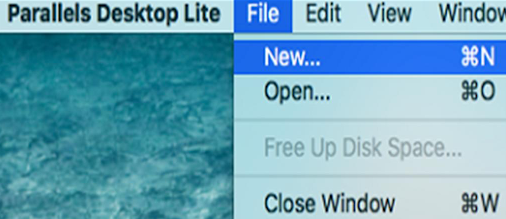
Step 2: Create a New Virtual Machine
Step 3: Choose the Installation Media

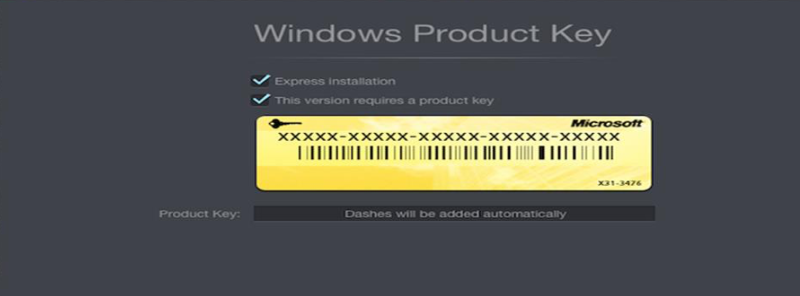
Step 4: Type in the Windows Product Key
The Windows software product key is usually found on the retail package, or in the confirmation email if you bought and downloaded it online. It’s a 25-character code made of letters and numbers.
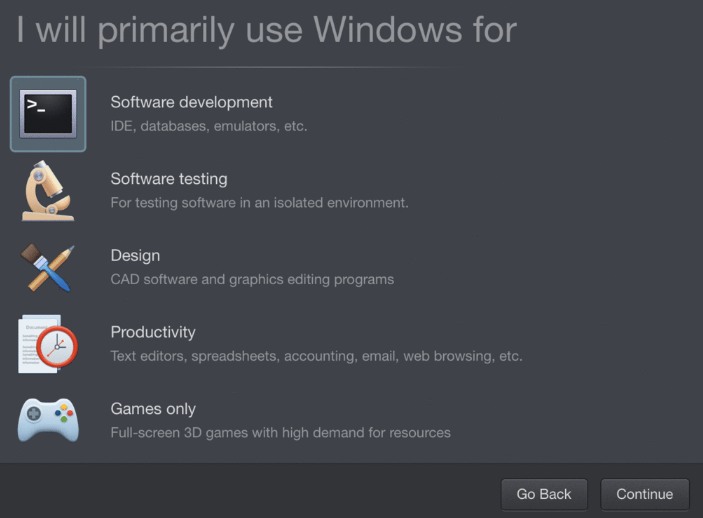
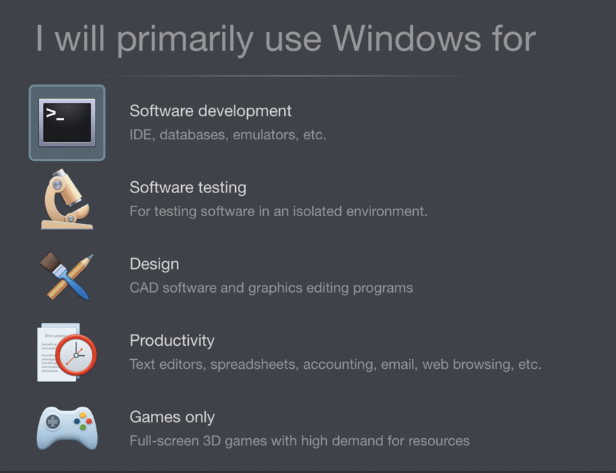
Step 5: Select How You Want to Use Windows
There are several ways to use Windows on Mac. Choose the option most suitable for you and Parallels will optimize your Windows experience accordingly.
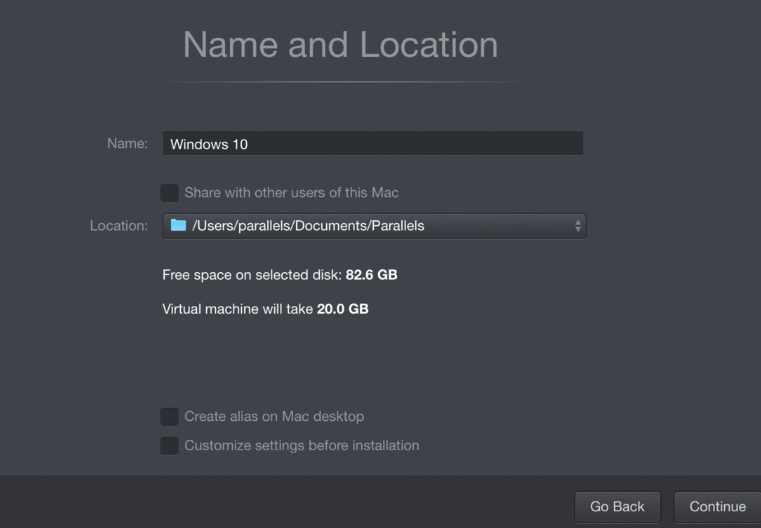
Step 6: Choose the Name and Location of Your Virtual Machine
Step 7: Start the Installation
Click Continue. Your computer will start installing your new Windows system. Just follow the on-screen instructions.
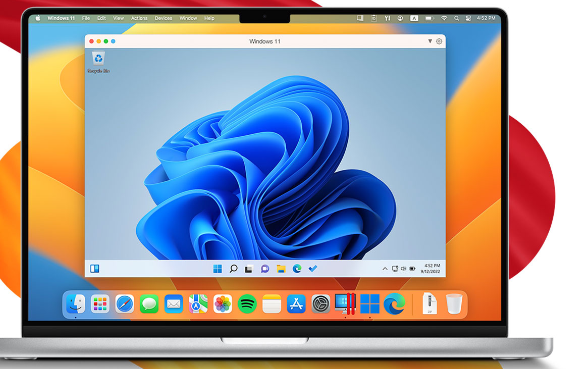
Once it’s finished installing, just open the app or click the Power button from the list of virtual machines on Parallels to launch Windows
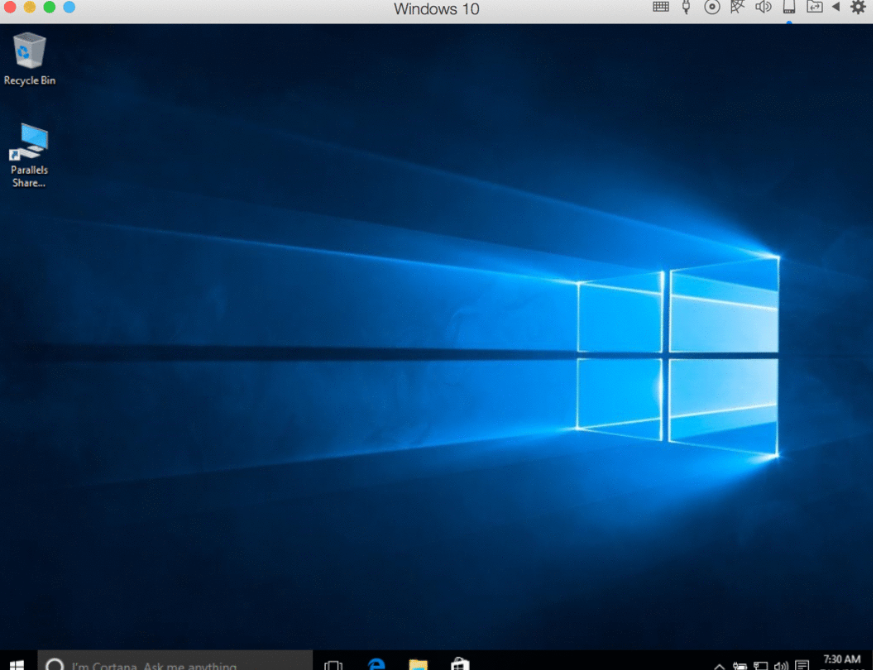
The first time you open Windows on your Mac, your computer will automatically install “Parallels Tools”. Parallels Tools allows your computer to work smoothly between macOS and Windows, so make sure you don’t disrupt the installation process. Restart Windows after the installation is finished and then you’re good to go.
It must be clear that Parallels Desktop for Mac is a powerful option to run virtual machines on your Mac. Thanks to the integration options, it works particularly well with a Windows virtual machine.